Main Screen of MIDI Arranger, used for playing live
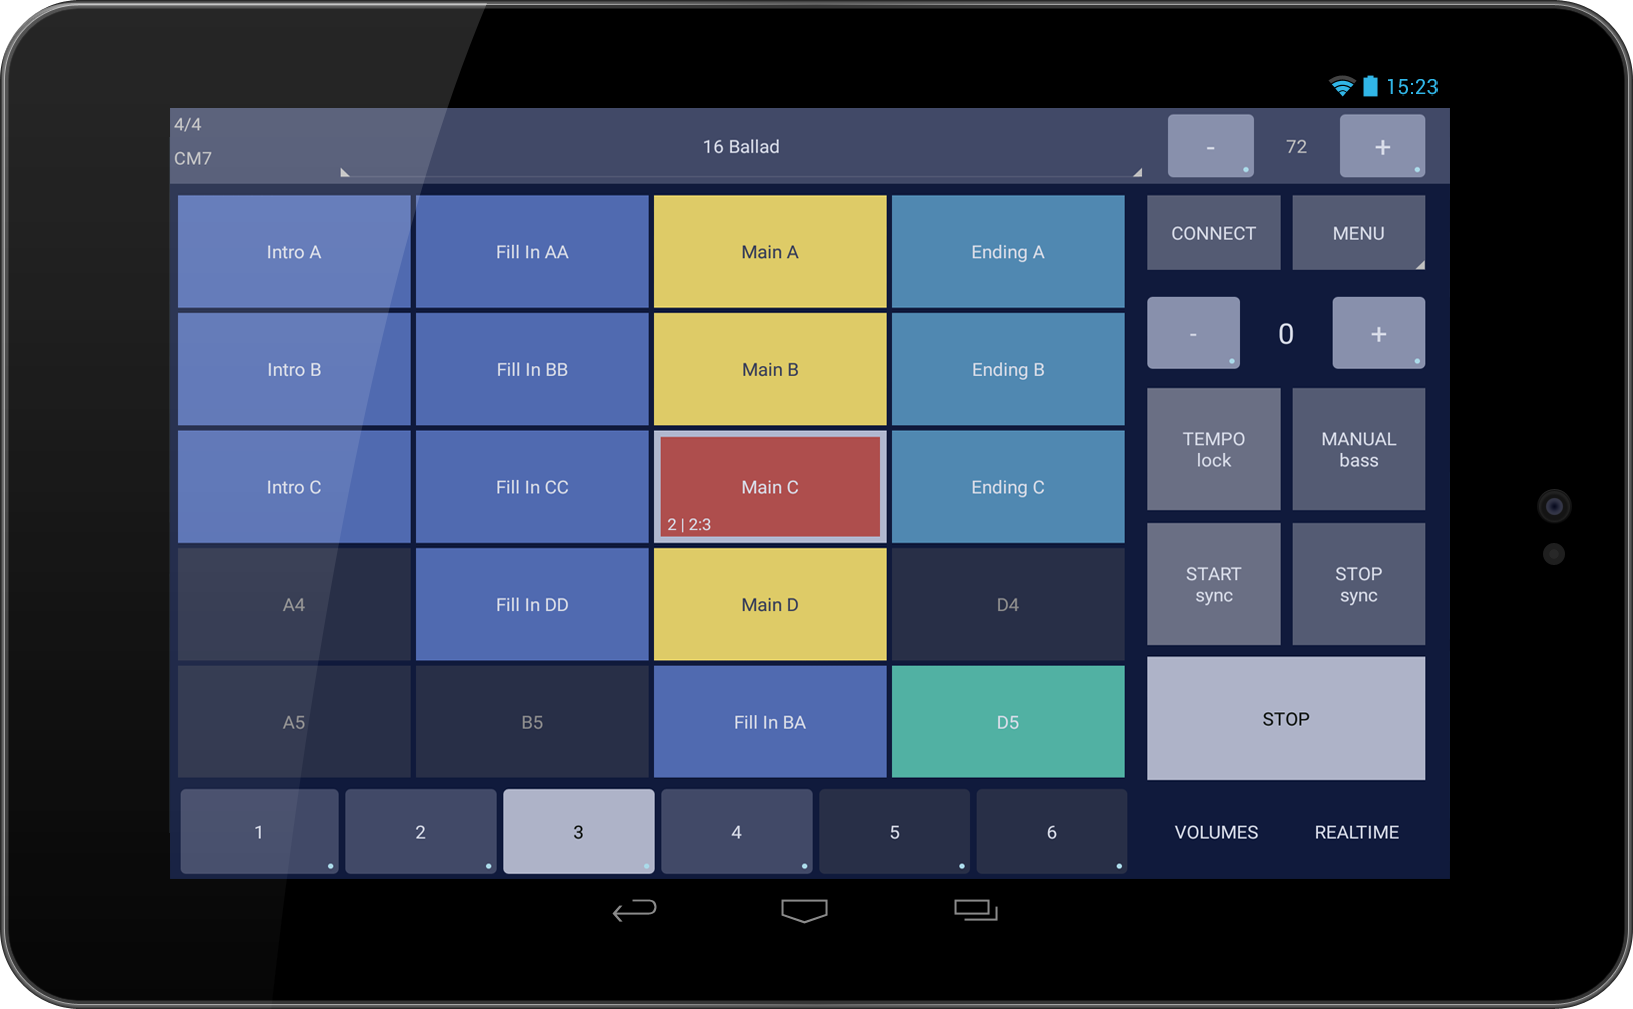
- Load styles from Styles Library by tapping style name at the top.
- Style parts are loaded in Scene buttons, the ones in the center of screen. They will light up in various colors based on Scene type.
- Click a Scene to switch to that variation.
- Scenes can be of these types: Intro, Main, Fill In, Break, End and Pad.
- If current Scene is an Intro, Fill In or Brake, the Main variation to play next is blinking.
- Top left of the screen shows time signature (Numerator/Denominator) and currently recognized chord.
- In Settings chord recognition can be configured to work left of a split key (default setting) or on full keyboard.
Main Functionality Explained
Right Buttons
- TEMPO -/+ - Tempo can be decreased/increased by tapping -/+ buttons or by holding them.
-
CONNECT - Tap this button to initiate a connection with your Synthesizer.
If MIDI Arranger don't detect your Synthesizer then your device might not have USB Host or cables are faulty. An easy way to check USB Host is to connect a computer mouse to your OTG and see if it works. - MENU - opens up main menu.
- TRANSPOSE -/+ Buttons bellow CONNECT and MENU. Transpose one semitone down/up.
- TEMPO lock - freeze the tempo to current value. Tempo defined at style level or at scene level will be ignored.
- MANUAL bass - play the bass with left hand and chord recognition will switch to the right hand.
- START sync - start playing when first key is pressed with left hand.
- STOP sync - when activated MIDI Arranger will stop playing when there are no keys pressed with left hand and start playing again when a key is pressed with left hand.
- START/STOP - tap it and current Scene will start playing. Tap it again and MIDI Arranger will stop playing.
- VOLUMES - Volumes can be changed for each midi channel (track) while playing live.
- REALTIME - Various effects (Attack, Cut Off, Decay etc) can be applied to one or more midi channels (tracks) in realtime while playing live.
MENU Options
- Edit - go into Edit screen when Style is created.
- Settings - go to Main Settings screen.
- External Controls - go to a screen when main MIDI Arranger functions can be linked to midi CC events allowing it to be controlled by Switches, Knobs and Sliders on your Synth.
- Quit - quit App.
- About - display App version.
- Latency Test - go to Latency Test screen.
Main Settings
- Chord recognition - left to a split key or on the full keyboard.
- GM Bank MSB/LSB - GM MIDI bank of your Synth. This bank is used by Styles which have GM Patches on their tracks. Useful to get started with styles imported from Yamaha format.
- Send Midi Timing Clock - when active, MIDI Arranger will send MIDI timing clock to your Synth. I highly recommend it.
- Send Midi In messages to Midi Out - use this option only when you have two Synthesizers or a MIDI Controller and a Synthesizer connected to MIDI Arranger through a USB Midi interface. All midi messages coming from Midi In will be routed to Midi Out so you can control your Synth from your MIDI Controller.
Right Hand Instruments
Registration Buttons
- The six buttons at the bottom of the screen, bellow Scene buttons, are Registrations.
- Tap one to change instruments played with right hand.
- Press and hold one to open up Registration Config screen where you can configure the instruments for this Registration.
- Each Registration can be configured to play one or more instruments - activate one or more midi channels. Instruments (also called Patches) can be auto initialized using MSB, LSB and Patch. Volume and Transpose can also be defined for each patch.
- Registrations can be linked to scenes so they are automatically selected when scene changes.